


A folding carton can help organize and present a glass nail polish bottle, but no carton style automatically guarantees protection. Start with the exact filled bottle in its fully closed retail condition. Measure the glass body, base, shoulders, cap and any decorative projections; identify where contact is acceptable; and compare movement, cap clearance, packing and removal in physical samples. When the bottle can shift or concentrate load against a weak area, investigate localized support or a revised carton proportion rather than simply tightening every panel.
This nail polish bottle packaging guide focuses on secondary-carton fit. Leakage compatibility, cap torque, formula regulation and shipping classification require separate product-specific review. Transit claims should be based on an appropriate evaluation of the complete packaged-product system.
Measure the closed filled bottle, not the stated capacity
Nominal fill volume does not define exterior geometry. Use a representative bottle with the intended cap, brush assembly, label, coating and fill. Record maximum width, depth and height, plus filled unit weight. For round bottles, check whether the cap, shoulders or label create the greatest diameter. For square bottles, check corner radii, base thickness and any taper.
Measure several production-intent units if they are available and record the orientation used. A dimensioned photograph or drawing should show which feature establishes each maximum.
| Area | Record | Carton review |
|---|---|---|
| Glass base | Footprint, recess, edge profile and flatness | Confirm stable support without point loading |
| Bottle body | Maximum width/depth and decorated contact zones | Inspect rubbing and side movement |
| Shoulder | Slope and transition to neck | Avoid assuming it is a suitable bearing surface |
| Cap and brush assembly | Closed height, width, overhang and approved closure state | Keep structural load away from unsuitable cap features |
| Filled unit | Weight, center of mass and orientation | Use the representative mass in handling and package evaluation |
Keep cap clearance separate from body fit
A tall cap may be narrower than the bottle but still require controlled headspace so carton flaps do not bear on it. Identify the approved closed state and whether the cap can accept any contact. Do not reduce carton height by pressing the cap or brush assembly downward.
Observe the top closure during packing. Inner flaps can sweep across a cap or catch a decorative edge even when the finished internal height appears adequate. Build the structure in its intended board and watch each flap move from open to locked position.
If alternate caps share one bottle, measure and review each version. A taller cylinder, tapered cap or weighted decorative shell can change maximum dimensions and the center of mass while the glass body remains identical.
Control movement without assuming pressure equals protection
Place the filled bottle into the first structural sample and note movement by direction. Side-to-side travel, vertical bounce and rotation are different observations and may need different responses. A broad reduction in carton size can create new pressure at the glass corners or cap without solving movement at the base.
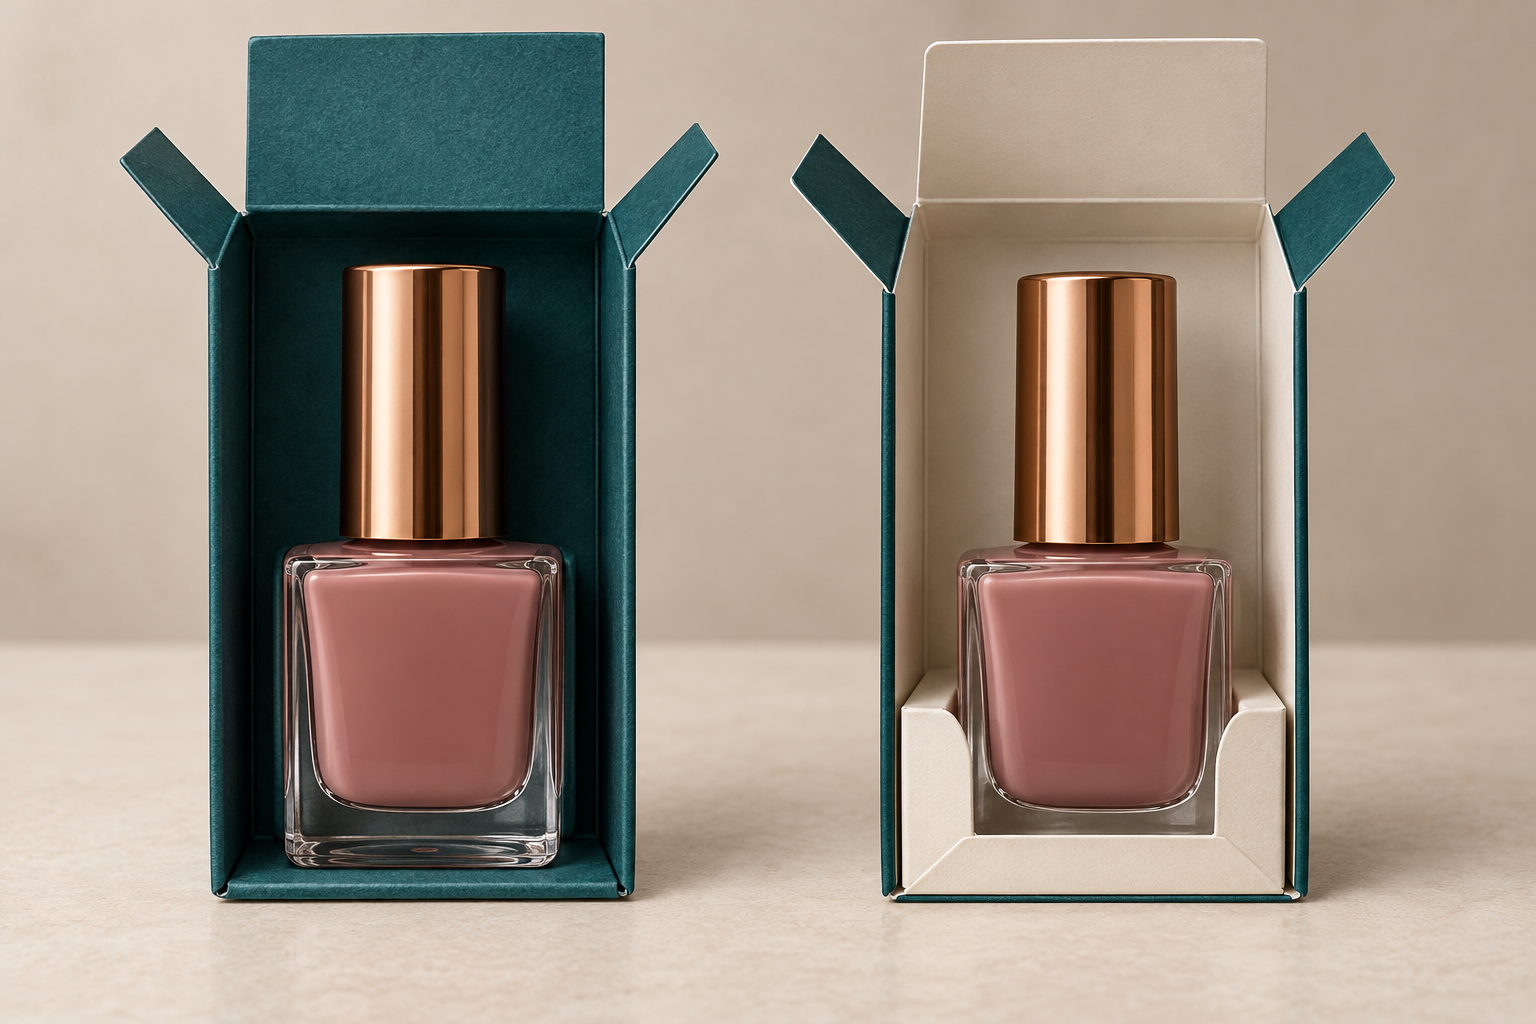
Investigate contact at robust, approved areas. A folded paperboard base locator, shoulder clearance feature or paired support may be compared where the direct-fit carton cannot control an identified issue. The geometry must be developed around the actual bottle; a generic cavity selected by capacity can misalign with the shoulder or base.
Do not describe an untested insert as shockproof. Locating a bottle, separating it from another item and cushioning a package are distinct functions. Any performance statement should match the evidence from the complete tested configuration.
Choose a carton style from the packing sequence
A straight or reverse tuck-end folding carton is often a practical starting candidate for a single bottle because it is familiar to erect and can provide efficient panels for information. The final closure orientation should suit the bottle shape, loading line and opening experience. An auto-bottom or other base construction may be considered when project-specific weight, assembly or production requirements justify it, but the style name alone does not establish glass protection.
Load the bottle in the planned direction. Check whether the cap passes fold edges, whether the base lands on the intended surface and whether the label faces the correct panel. If an insert is used, observe whether it remains seated or lifts when the bottle is removed.
Inspect glass contact and decoration
Glass edges and corners can concentrate contact, while sprayed, frosted or printed surfaces may show rubbing. Mark expected contact zones on the sample and inspect them after packing, opening and the agreed handling sequence. Use final-intent decoration where possible; clear undecorated glass may conceal a problem that appears on the finished bottle.
A label can also alter the exterior envelope or become the first contact surface. Confirm label placement and overlap before freezing the interior dimensions. If the artwork or bottle coating changes later, assess whether the approved fit still applies.
Separate single bottles from sets
A carton for one nail polish bottle should not be assumed suitable for a two- or three-bottle kit. In a set, bottles can contact one another unless positions remain separated under the expected handling. Record the desired removal order, shade visibility and grip space for each item.
For multi-bottle packs, compare individual localized positions with a grouped structure. Avoid creating narrow paperboard bridges that look precise in a render but are difficult to erect or tear during loading. The complete set, not an empty tray, should be used for approval.
Evaluate usability before visual approval
Ask someone unfamiliar with the design to open the carton and remove the bottle. They should not need to pull primarily on the cap because the glass body is inaccessible. A finger recess, changed loading orientation or modest access allowance may improve removal without broadly increasing the carton.
Check reclosure only if it is part of the brief. Observe whether opening damages a dust flap, whether the bottle returns in the correct orientation and whether any support feature stays in place. Record the agreed customer sequence so visual presentation is not approved in isolation.
Use the intended distribution system for performance review
A retail carton may travel inside a shipping case, retailer tote or e-commerce overpack. Define the actual distribution configuration and acceptable condition before selecting a test approach. ISTA explains that different test series serve screening, partial-simulation and general-simulation purposes; the procedure should match the intended question rather than being cited generically.
ISTA also recommends reviewing the full packaged-product system and retesting when changes could affect performance. A new bottle weight, cap, carton material, interior support or distribution route may therefore require renewed assessment. Retain test reports and sample configuration details with the packaging specification.
Build an approval record that can survive a reorder
Keep the bottle supplier reference, closure and brush assembly, filled weight, decoration, carton dieline, board specification, interior components, loading orientation and photos. State whether the review covered visual fit, usability, transit evaluation or a defined combination; do not allow a blank sample sign-off to be interpreted as evidence for every performance claim.
Also record the bottle and carton quantities examined. A single hand sample may support an early design decision, but it should not be represented as evidence for unobserved production variation.
Review custom nail polish box options with the exact bottle configuration and distribution brief. Supply the measured sample, acceptable contact zones and observed movement in a custom quote request so the proposed structure addresses a real requirement.
Nail polish bottle packaging questions
Do glass nail polish bottles always need inserts?
No. Evaluate the exact filled bottle, carton fit and distribution system. Compare localized support when a direct-fit carton cannot meet an identified requirement.
Should cap height be included in the measurement?
Yes. Measure the complete normally closed retail unit, including the cap, brush assembly position and any decorative projection.
How much clearance should be above the cap?
There is no universal allowance. Prototype the intended board and closure sequence, confirm the flaps do not load or catch the cap, and document the accepted result.
Can a carton prevent a glass bottle from breaking?
Do not make that guarantee from structure choice alone. Protective performance depends on the entire packed product and should be supported by an appropriate documented evaluation.
Where should a bottle be supported?
Use suitable contact zones established for the specific bottle, often investigating stable body or base areas while keeping pressure away from unsuitable cap, shoulder or decorated features.
Can different shades share the same carton?
They can when the bottle, cap, label and approved geometry match. Control shade identification and recheck any special-edition decoration or closure.
Is a tuck-end carton suitable for nail polish?
It can be a practical candidate for a single bottle, but suitability depends on the product, board, closures, packing sequence and required package performance.
Should the bottle be tested empty or filled?
Empty samples can support early geometry work, but final fit and package evaluation should use representative filled weight and production-intent components.
How can label scuffing be reduced?
Identify contact zones, use final-intent labels in samples, review packing and removal, and adjust localized geometry where evidence shows rubbing.
What should be sent with a nail polish packaging enquiry?
Provide the closed filled bottle, dimensions, weight, bottle and cap references, decoration, contact restrictions, quantity, opening goal and distribution context.