Cut line
Shows where the board is trimmed. Keep critical content away from this edge.
Artwork guidelines
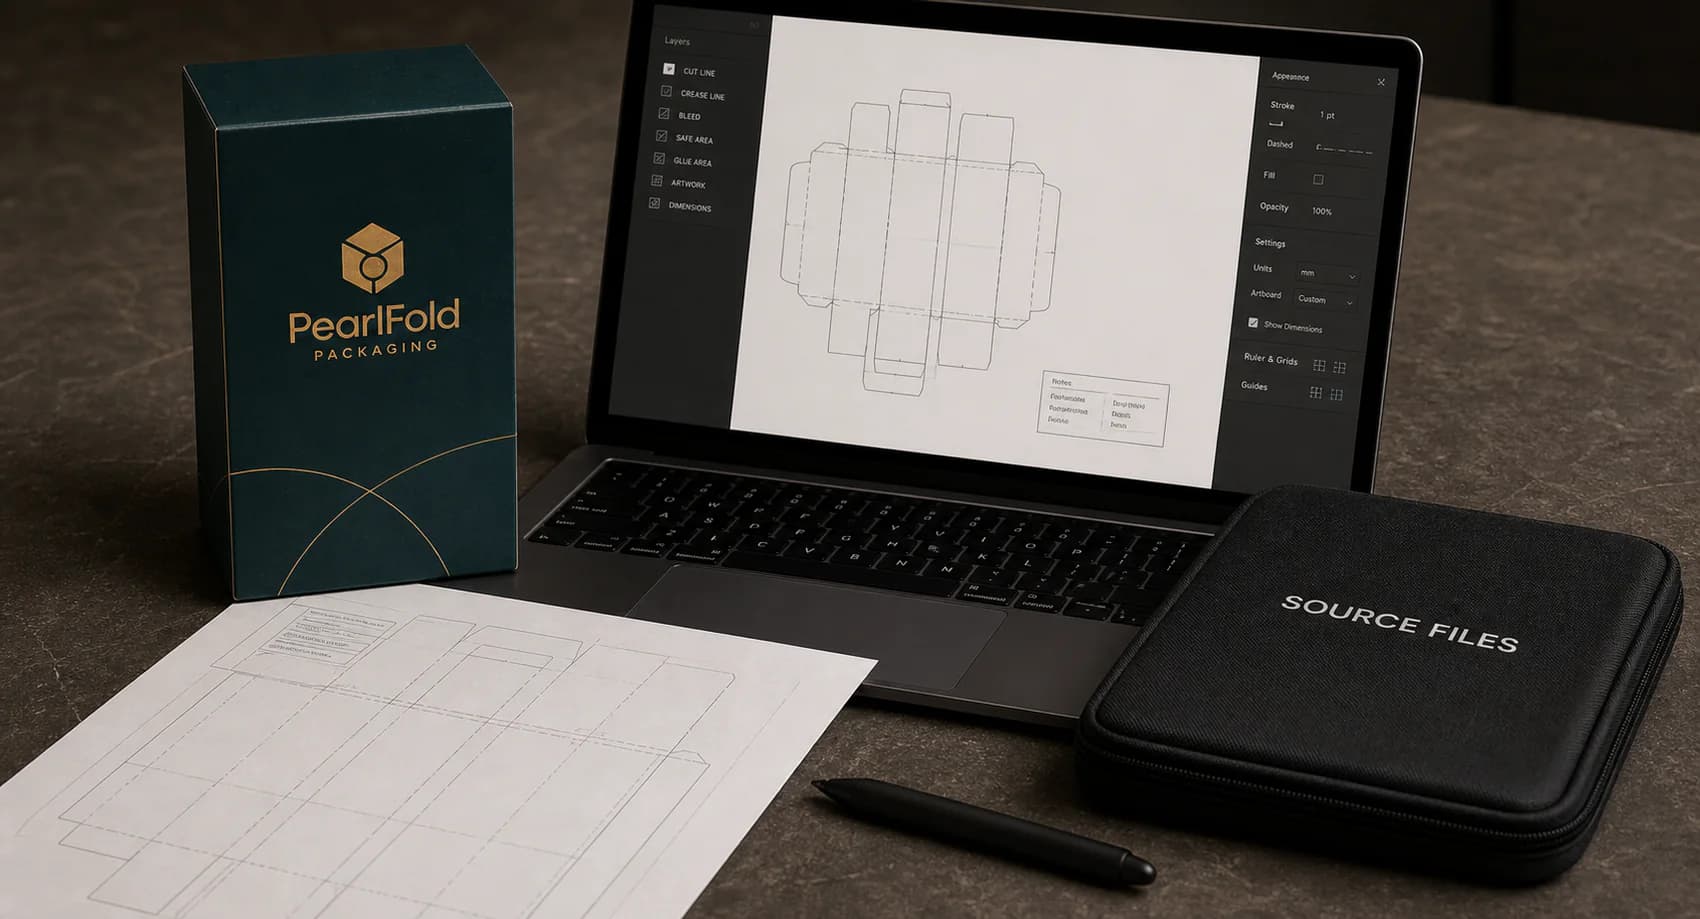
Use the approved packaging dieline and follow clear requirements for bleed, safe areas, fonts, images, color, barcodes, and final file handoff.
Before you send artwork
The structural foundation
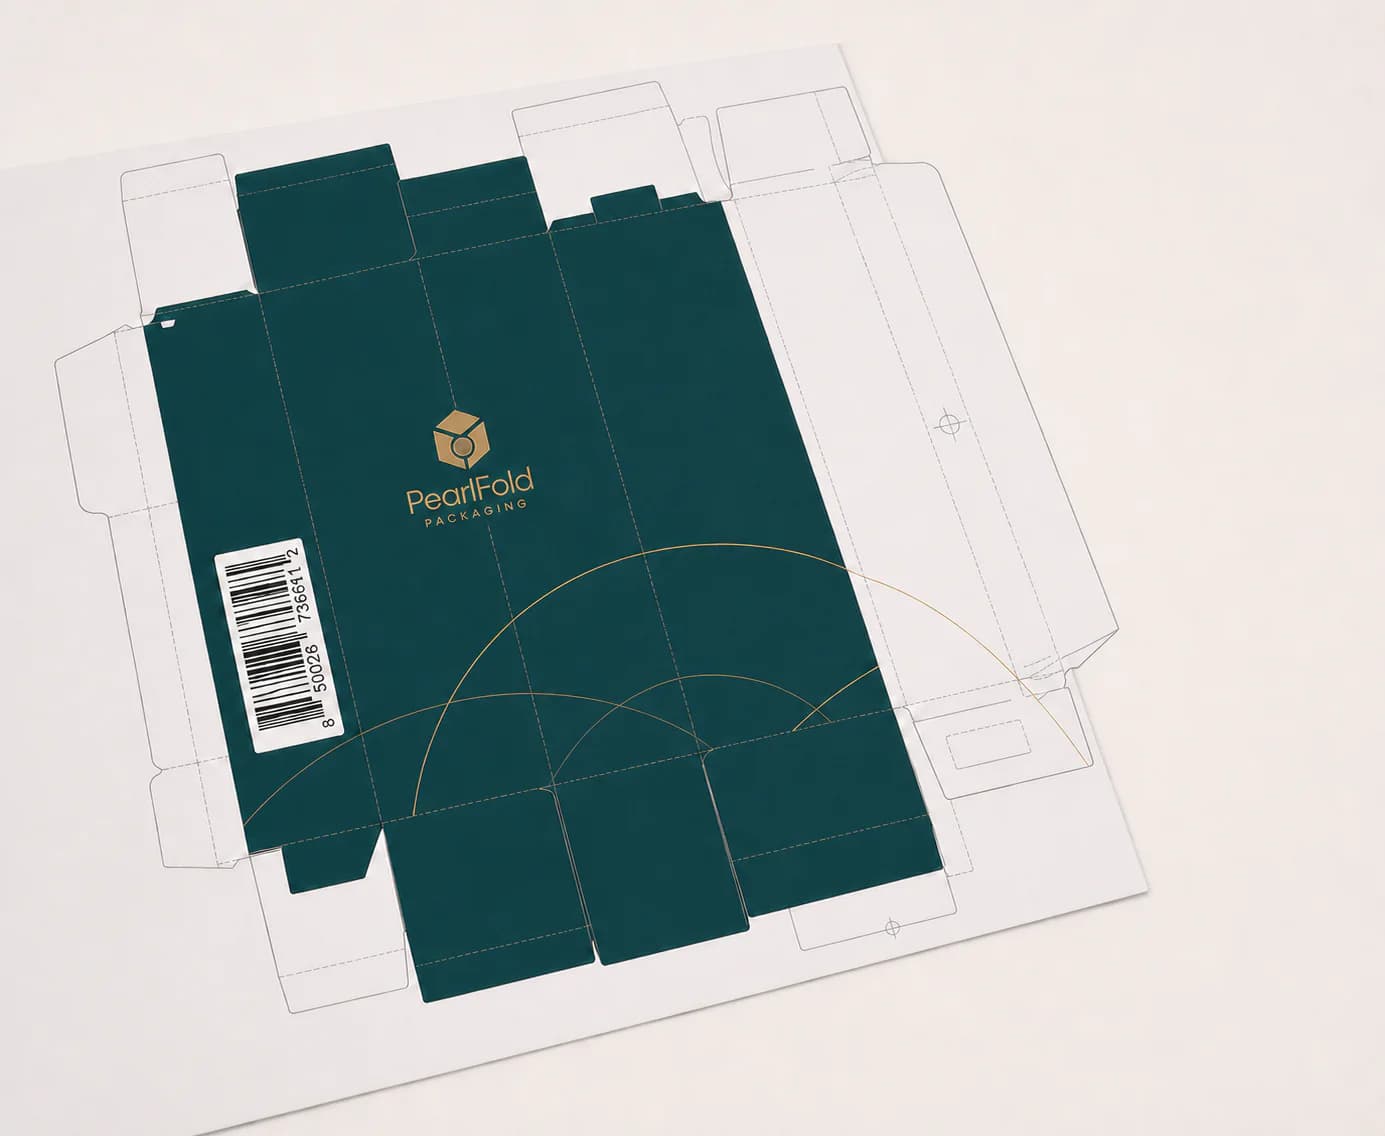
Every panel, fold, and glue area serves a production purpose. Use the size-specific dieline supplied or approved for your project, and do not resize or move structural lines.
Shows where the board is trimmed. Keep critical content away from this edge.
Shows where the package folds. Keep small type and important details clear of the fold.
Extend backgrounds and images beyond the cut line by the amount shown on the approved template.
Keep logos, text, and barcodes inside the stated safe area and away from structural features.
Do not place critical artwork in glue flaps or other restricted production zones.
Production-ready files
These core packaging artwork requirements make the first preflight clearer and reduce avoidable corrections.
Use legible type at the intended printed size. Outline fonts or package the permitted font files requested for review.
Use linked, high-resolution images at sufficient effective resolution for their final printed size. Avoid screenshots and web graphics.
Prepare process artwork in CMYK and identify every approved spot color clearly. Include reliable color references when required.
Place foil, embossing, debossing, white ink, and spot effects on separate, clearly named layers for production review.
Panel-by-panel review
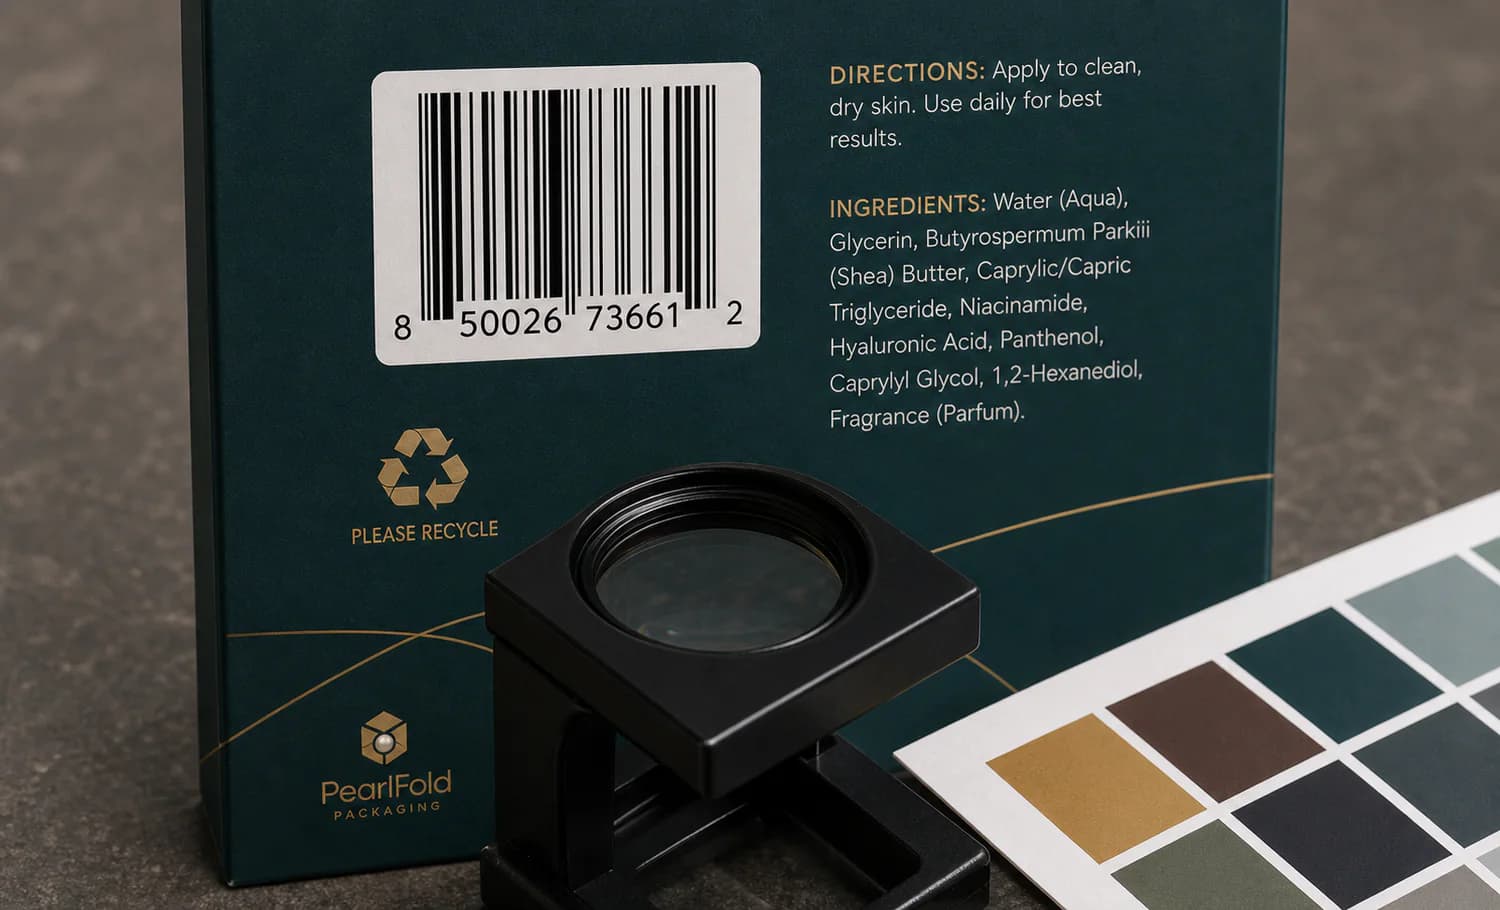
Small details can create large corrections once packaging artwork reaches proofing. Review every panel at final size and against the assembled pack.
Keep important copy inside the safe area and clear of folds and glue zones.
Verify product names, variants, spelling, punctuation, and customer-supplied wording.
Confirm the final approved text and any required information before handoff.
Use a suitable size, strong contrast, and a clear quiet zone; test through the responsible provider.
Use only marks, claims, or certification symbols that are current and authorized for the project.
Confirm the reading direction and panel order against the approved dieline and assembled pack.
One controlled final review
Review the working file and the reference PDF together. Every item should point to one clear, current artwork version.
| Check | What good looks like |
|---|---|
| File version | The filename and internal version identify the artwork being submitted for review. |
| Links and fonts | All linked assets are included, and fonts are outlined or packaged as requested. |
| Bleed and safe area | Bleed reaches the template boundary, while critical content stays inside the safe area. |
| Layers and overprint | Artwork, structural guides, and finishes use clear layers; overprint settings are intentional. |
| Images | Placed images have suitable effective resolution at final print size and use appropriate color setup. |
| Color and finishes | CMYK, spot colors, white ink, foil, embossing, and coatings are clearly identified. |
| Barcode or QR | Machine-readable artwork has appropriate size, contrast, quiet zone, and owner approval. |
| Reference PDF | A flattened, high-resolution PDF shows the intended appearance and includes useful notes. |
File handoff
A structured handoff helps the prepress review stay focused on the right artwork, dieline, and reference.
Include the requested native file, linked assets, fonts when permitted, and supporting artwork in one organized folder.
Supply a clear, high-resolution PDF showing every panel, orientation, and intended finish location.
Use one unambiguous filename and version so the artwork, proof, and production reference stay connected.
FAQ
The preferred handoff depends on the project and production path. PearlFold may request an editable vector working file, its linked assets, and a high-resolution reference PDF. Confirm the requested format before final submission rather than assuming one universal file type.
Early visual exploration can begin, but final packaging artwork should be placed only on the approved size-specific dieline. Resizing or adapting an unrelated template can change panel fit, fold alignment, and finish placement.
Outline fonts when the agreed handoff requires print-ready vector artwork, or package permitted font files when editable text is needed for review. Keep a separate editable source version before outlining.
Identify every special finish on its own clearly named layer using a distinct spot-color treatment. The layer should show the exact location and shape of the effect without replacing the normal printed artwork beneath it unless the specification requires that.
Start with the right structure
Request or confirm the size-specific packaging dieline before final artwork is prepared.
Request your dieline