
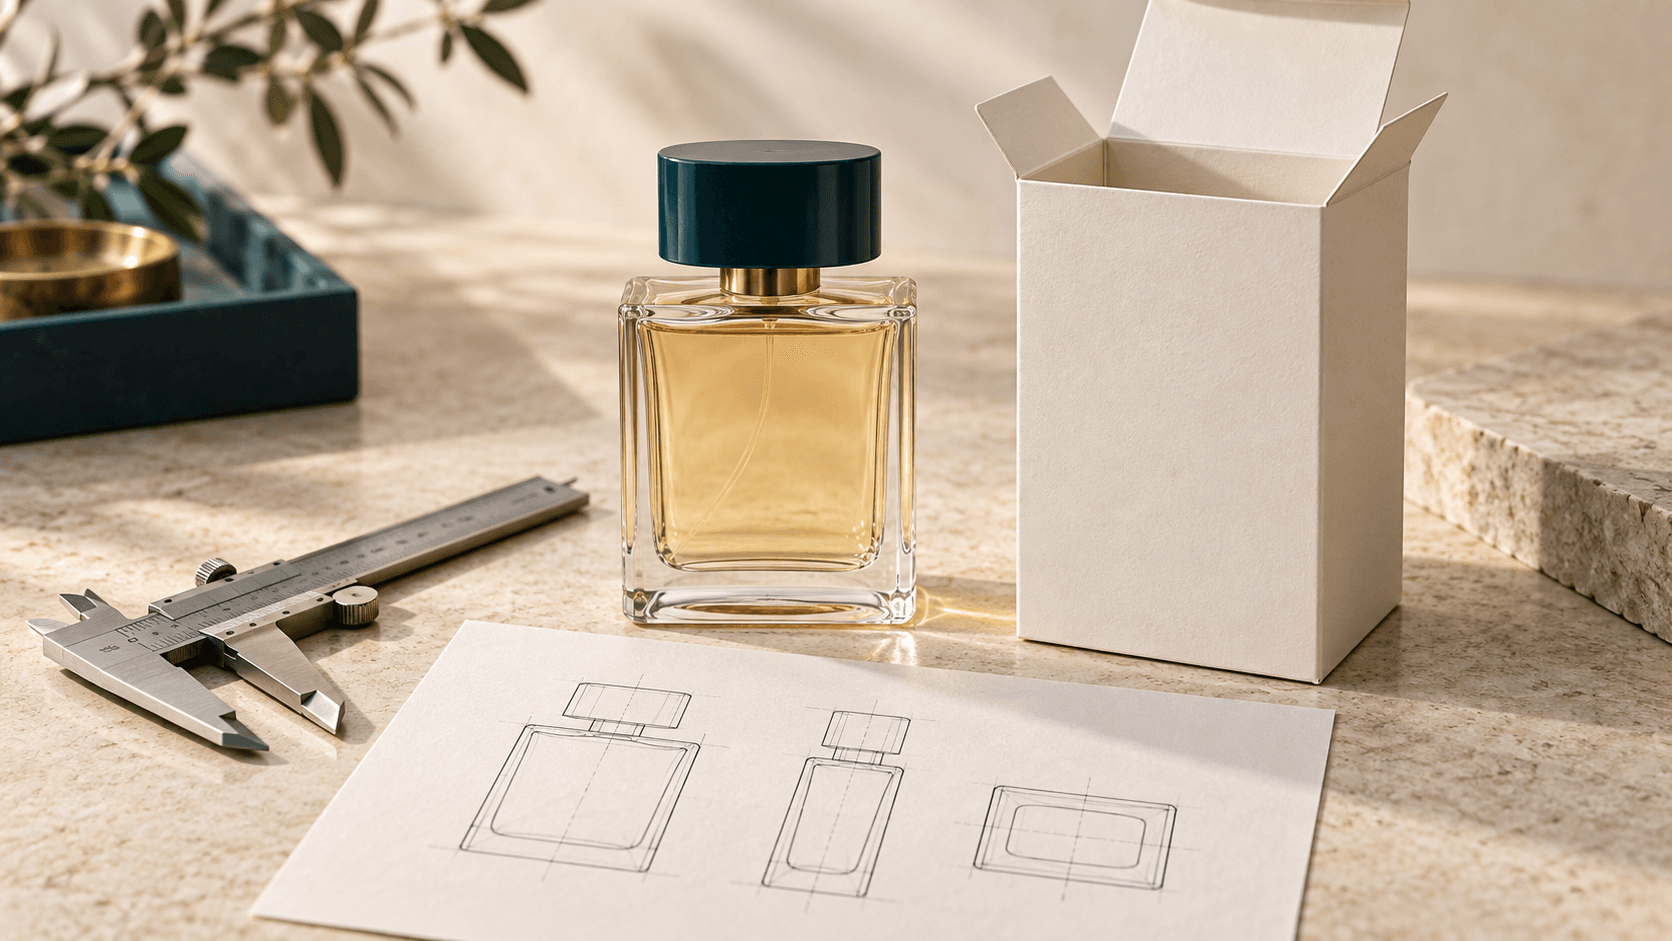
To measure a perfume bottle for packaging, use the finished bottle with its production cap fitted. Record the maximum width, depth and closed height, then note the shoulder profile, base, cap overhang and filled weight. These are product measurements—not the finished carton dimensions. The packaging designer must allow for the selected structure, insert, board and practical loading clearance before issuing a dieline.
This guide is for fragrance teams preparing a bottle measurement sheet. It covers the details a simple “50 mL bottle” description misses, how to document an irregular shape, and what to check when a physical sample arrives. For the commercial packaging options supported by that sheet, see custom perfume boxes.
Start with the bottle that will actually be packed
A development bottle without its final cap is not a reliable structural reference. Fit the production closure, collar, decorative sleeve, label and any security component that changes the outer profile. Identify whether the bottle will be packed upright or horizontally. A wide cap can determine carton width even when the glass body is relatively narrow.
Give the sample a version identifier. If the bottle supplier has not finalized the cap or decoration, mark the dimensions provisional and say which part may change. Do not quietly substitute a new component after the insert has been approved: the nominal fill volume can remain unchanged while the physical fit changes.
Use a stable, flat surface, a ruler or suitable caliper, and a scale for filled weight. Check that the measuring tool reads correctly before starting. Apply only enough pressure to locate the surfaces; squeezing a decorative sleeve or compressing a closure can produce a misleading reading. Follow your team’s measurement procedure and retain the supplier drawing when available.
Measure a perfume bottle: six measurements and observations
| Record | Where to check | Why it matters |
|---|---|---|
| Maximum width | Across the complete bottle and cap, in the chosen front view | The widest component may not be the glass body |
| Maximum depth | Front to back, including decoration and projections | A flat-looking bottle can have a curved rear face |
| Closed height | From the standing surface to the highest fitted component | The cap must clear the closing carton and any upper restraint |
| Shoulder and neck profile | Where the glass narrows and the collar begins | An insert may need support away from sensitive closure parts |
| Base geometry | Standing footprint, corners and any recess | The support surface must suit the bottle rather than its silhouette alone |
| Filled weight | The complete item as packed | Fit and support must account for the actual load |
Write the unit beside every set of values. Millimeters are convenient for small packaging measurements, but consistency matters more than a preferred unit. If another team needs inches, keep the original measurement and label the conversion rather than mixing units in one unlabeled column. Also name the front face so width and depth cannot be accidentally exchanged.
Measure the outer envelope before the decorative details
The outer envelope is the smallest rectangular space that contains the complete item in its intended orientation. First identify its maximum extents. Then describe details inside that envelope that affect support or contact. These are two separate tasks: a rectangle can tell the designer how much space the item occupies without explaining how to hold it.
For a round bottle, record the greatest body diameter and check the cap separately. For an oval bottle, record both axes. For a faceted or asymmetric bottle, measure the extremes rather than an average across the faces. Rotate the item deliberately to find projecting corners, but keep the final width/depth reference tied to the agreed front view.
A ribbon, charm or removable accessory needs its own instruction. State whether it is fixed in one position, folded during packing or supplied separately. An accessory that moves freely can change the space required and interfere with a tuck flap. A photograph alone rarely explains the packing position clearly enough.
Show the contact surfaces an insert should avoid
Mark delicate printing, metallic decoration, raised labels and surfaces that visibly scuff. Show the intended support regions separately. A snug cavity around a decorated face may hold the bottle securely while leaving an unacceptable rub mark when it is removed. Conversely, generous clearance around every surface may let the bottle move.
The closure deserves particular attention. State whether the cap is friction-fit, threaded or another construction, and provide the bottle supplier’s handling requirements. Do not assume the cap can carry the bottle’s weight or act as the main retention point. Review how the consumer grips and lifts the bottle, especially when the cap is larger than the glass.
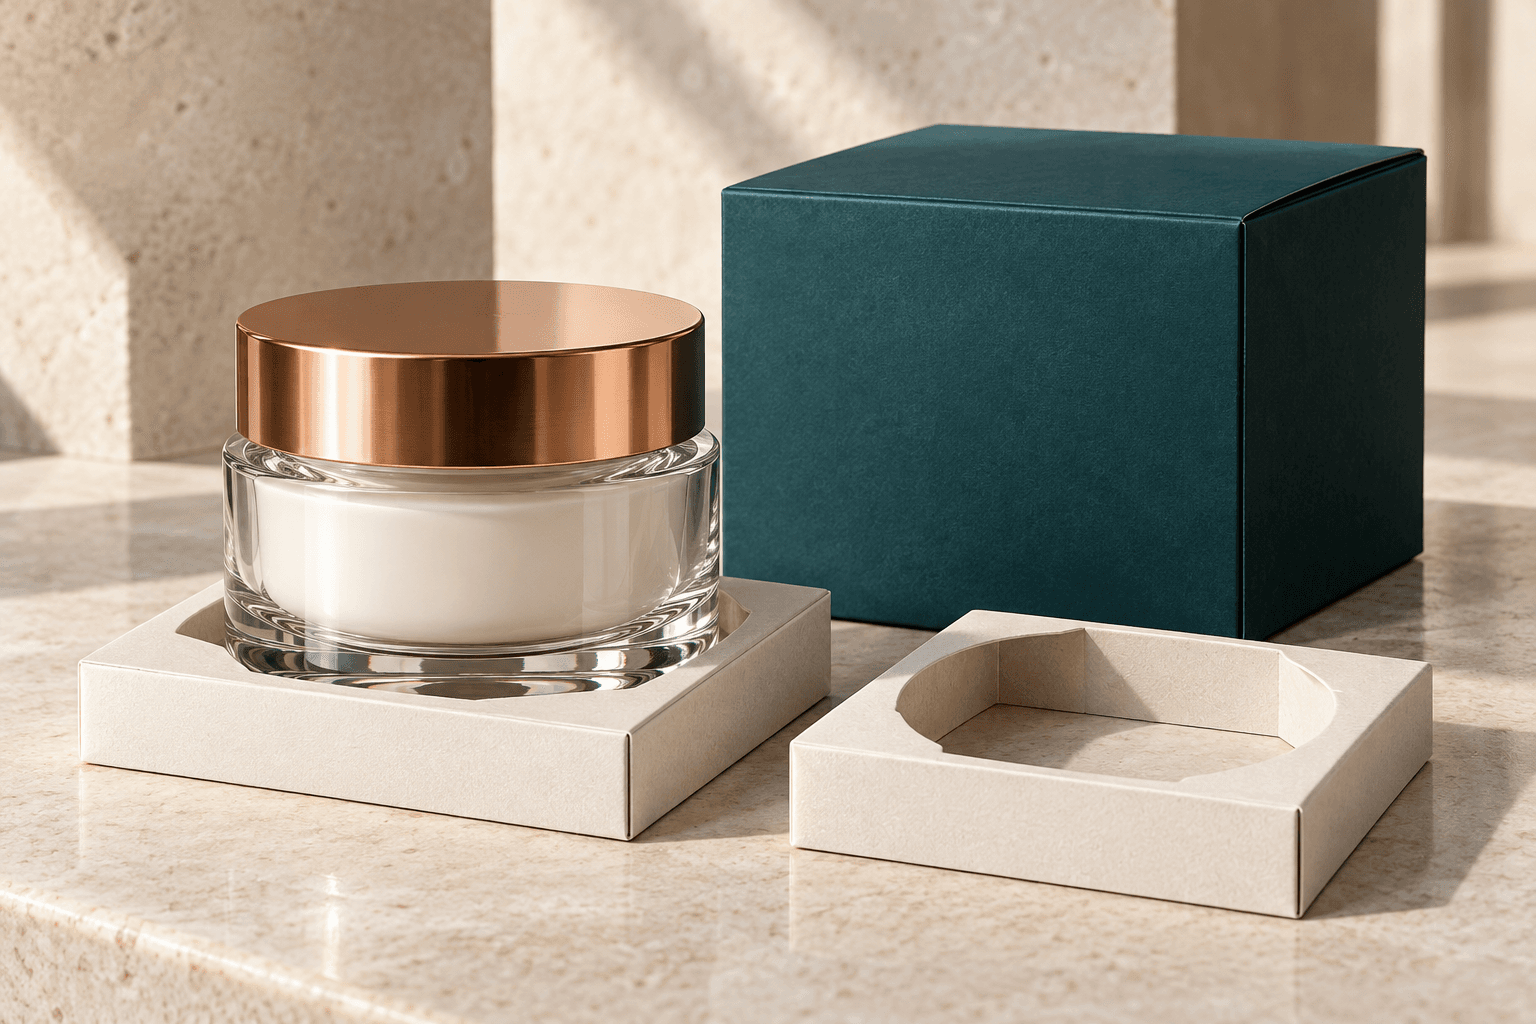
These observations help turn a measurement sheet into an insert brief. PearlFold’s custom insert planning guidance explains the wider relationship between retention, removal access and the outer structure. Final contact points still need review on the real product.
Do not add a universal allowance and call it a box size
Product dimensions, internal box dimensions and external box dimensions describe different things. Internal space must accommodate the item, insert and loading movement. External size also depends on the material and construction. A folding carton and a wrapped rigid box built around the same bottle therefore need not share the same outer dimensions.
A fixed instruction such as “add a few millimeters to every side” skips important decisions. A top-loaded bottle may need room for its widest cap to pass through the opening. An insert may restrain the base while leaving a removal notch near the shoulder. A tucked closure can occupy space above the product. Let the structural design resolve these relationships rather than assigning a universal clearance.
Ask the designer to label internal and external measurements explicitly on the approved drawing. If you are comparing a stock carton with a custom option, compare usable internal space first, then review the actual loading path and support—not only the advertised outside size.
Prepare a measurement sheet that another team can use
Give each bottle and cap combination one row in a version-controlled sheet. Include the SKU, sample reference, measurement date, units, orientation, outer-envelope dimensions, filled weight and outstanding changes. Add front, side, top and base photographs with arrows identifying the measured directions. Avoid relying on perspective photographs to calculate dimensions.
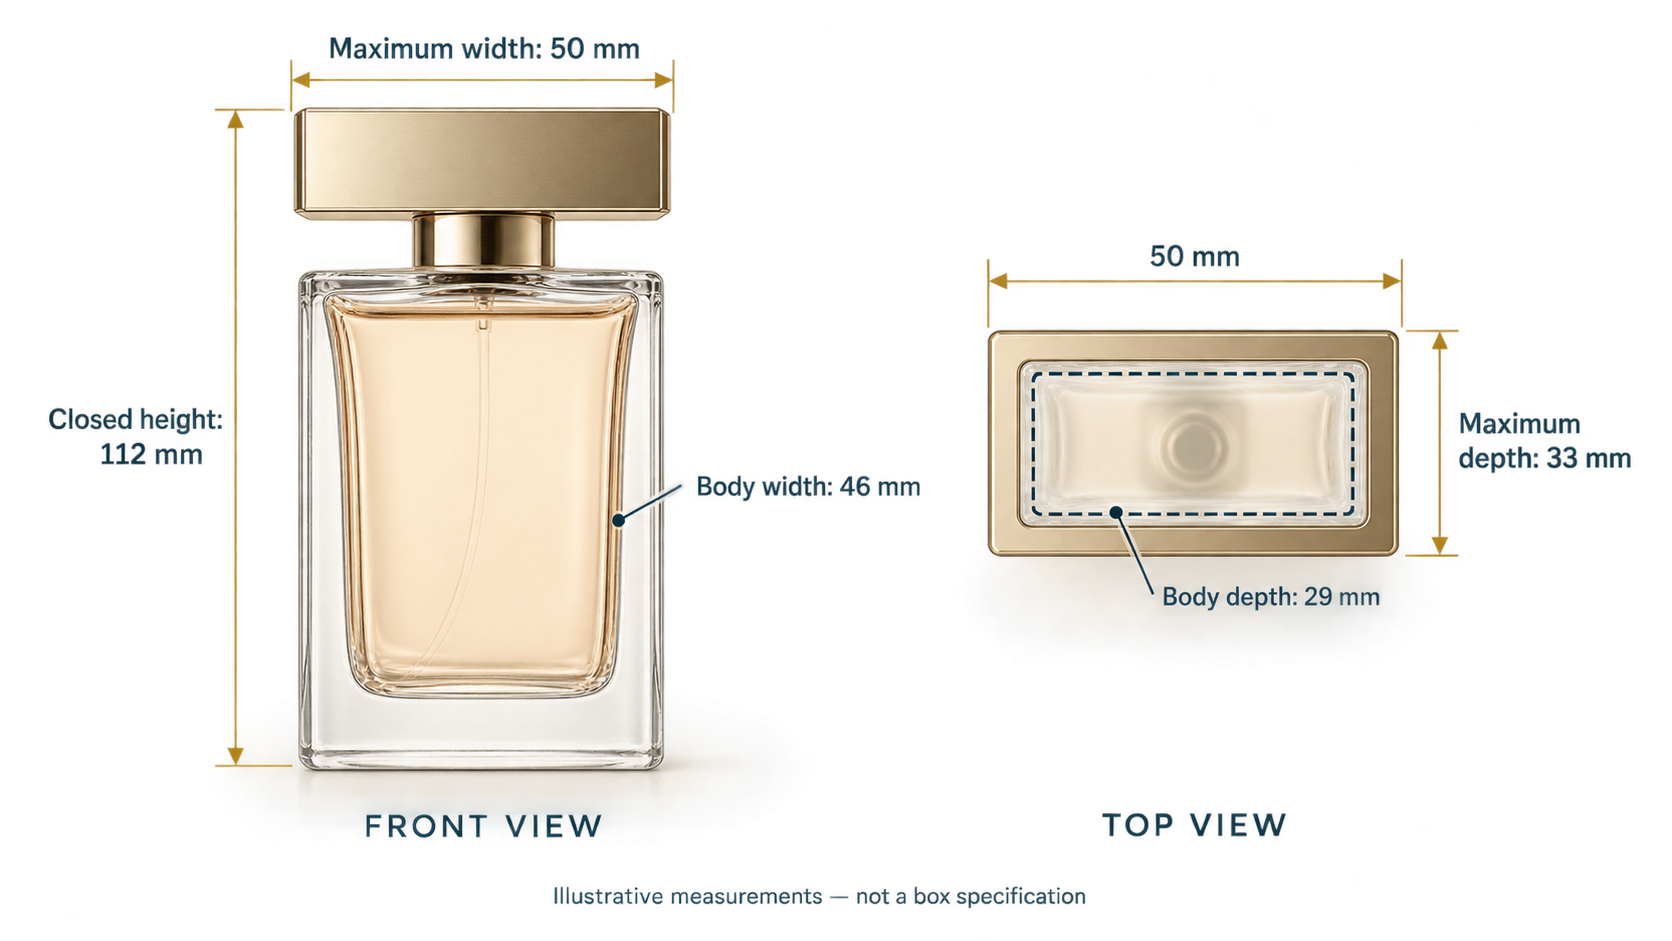
Illustrative example, not a production specification: a rectangular bottle body measures 46 mm wide and 29 mm deep, but its cap measures 50 mm by 33 mm. Its closed height is 112 mm. The outer envelope is therefore 50 × 33 × 112 mm in that orientation, not 46 × 29 × 112 mm. The finished carton size remains undecided until the structure and insert are developed.
The example demonstrates why cap measurements belong in the same record as the bottle. Add a side sketch showing where the wider cap begins; that information can determine whether the bottle passes through a proposed insert opening. Label all example or estimated values clearly so they cannot be mistaken for measurements of your product.
Review more than one production-intent sample
A single sample describes that item, not the full manufacturing range. Ask the bottle supplier for the controlled drawing and relevant dimensional variation. Where possible, review representative samples and record the observed range separately from the nominal dimensions. Do not turn a small sample into an unsupported statistical tolerance.
If different fragrance variants use the same container, verify the complete assembly for each. A different cap, applied plaque or label build can change fit even when the glass mold is shared. Keep a clear list of which variants the packaging sample actually covers and which still require review.
Use the first structural sample to answer specific questions
Check whether the bottle loads without catching, the carton closes without bearing on the cap, and the item can be removed without pulling on a vulnerable component. Inspect decorated surfaces after packing and removal. Check the insert’s own movement within the box; a correctly sized cavity is not enough if the whole tray shifts.
This fit review is different from distribution testing. A neat tabletop sample does not establish shipping protection. The complete packed configuration, including its shipping carton and any protective components, needs an appropriate evaluation for the distribution route. ISTA’s test procedure overview distinguishes screening tests from broader distribution simulations; the appropriate selection depends on the intended purpose.
Keep the approved bottle version, carton drawing, insert specification and review notes together. ISTA also identifies changes to product, package and process as potential reasons for retesting a packaged product. A cap or bottle change should therefore trigger a review of the affected fit and performance evidence rather than an automatic repeat order.
Questions about measuring perfume bottles
Can I calculate the box size from the bottle’s milliliter capacity?
No. Capacity describes the contents, not the outer shape. Two bottles with the same nominal volume can have different heights, bases, shoulders and caps. Measure the finished assembly.
Should the cap be on when I measure height?
Yes, if the product will be packed with the cap fitted. Record the closed height and identify any accessory that extends above it. A separate cap needs its own packing layout.
What if the cap is wider than the bottle?
Record both dimensions and use the cap when describing the maximum envelope. Also show where it starts so the designer can evaluate loading and insert clearance.
Do I measure an empty or filled perfume bottle?
Measure the finished assembly for size and provide its filled weight for support planning. State clearly if the sample is empty or provisional rather than assuming it represents the packed product.
Can I use the bottle supplier’s drawing instead of a sample?
A current controlled drawing is valuable, especially early in development. Confirm that it covers the fitted closure and decoration. A physical sample is still important for practical fit and removal review.
How much extra space should I leave around glass?
There is no universal allowance. Clearance depends on the outer structure, insert, product variation, assembly and protection requirements. Confirm it through structural design and the relevant sample review.
How do I measure a bottle lying horizontally in a gift box?
Document the envelope in that packing orientation and identify the support surfaces. Show cap clearance and the removal direction. Upright measurements alone do not define the horizontal presentation.
Does a tight fit prove that the perfume is protected?
No. Excessive contact can create pressure or abrasion. Fit, support, removal and distribution performance are separate review questions and should be evaluated together.
Can different bottle sizes share one insert?
Only after each intended item is reviewed. A cavity enlarged for one bottle may leave another loose. Separate or modular insert versions may be more suitable than a compromised universal fit.
What should I send with a perfume packaging quote request?
Send the measurement sheet, product photographs, filled weight, quantity per variant, packing orientation and artwork status. Identify any pending bottle changes and the intended delivery channel.
Turn measurements into a reviewable packaging brief
Reliable measurements reduce uncertainty; they do not replace a confirmed structural specification. Once your bottle record is ready, include it in a project-specific packaging quote request. Ask for any proposed insert, internal dimensions and sample scope to be identified explicitly before artwork is finalized.