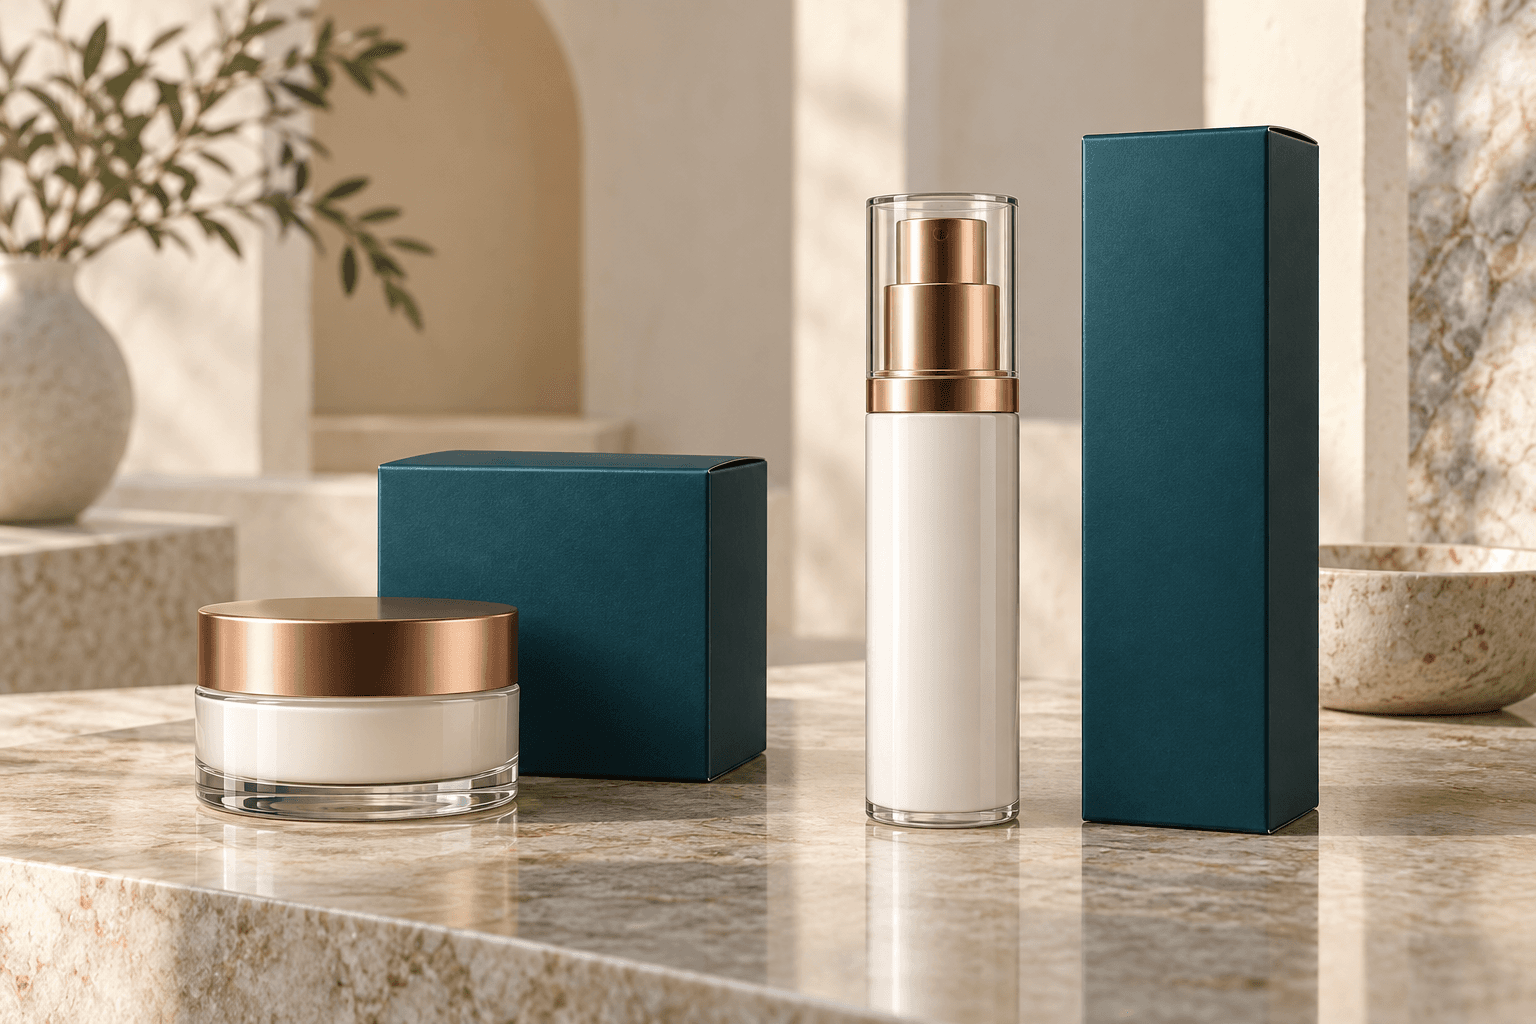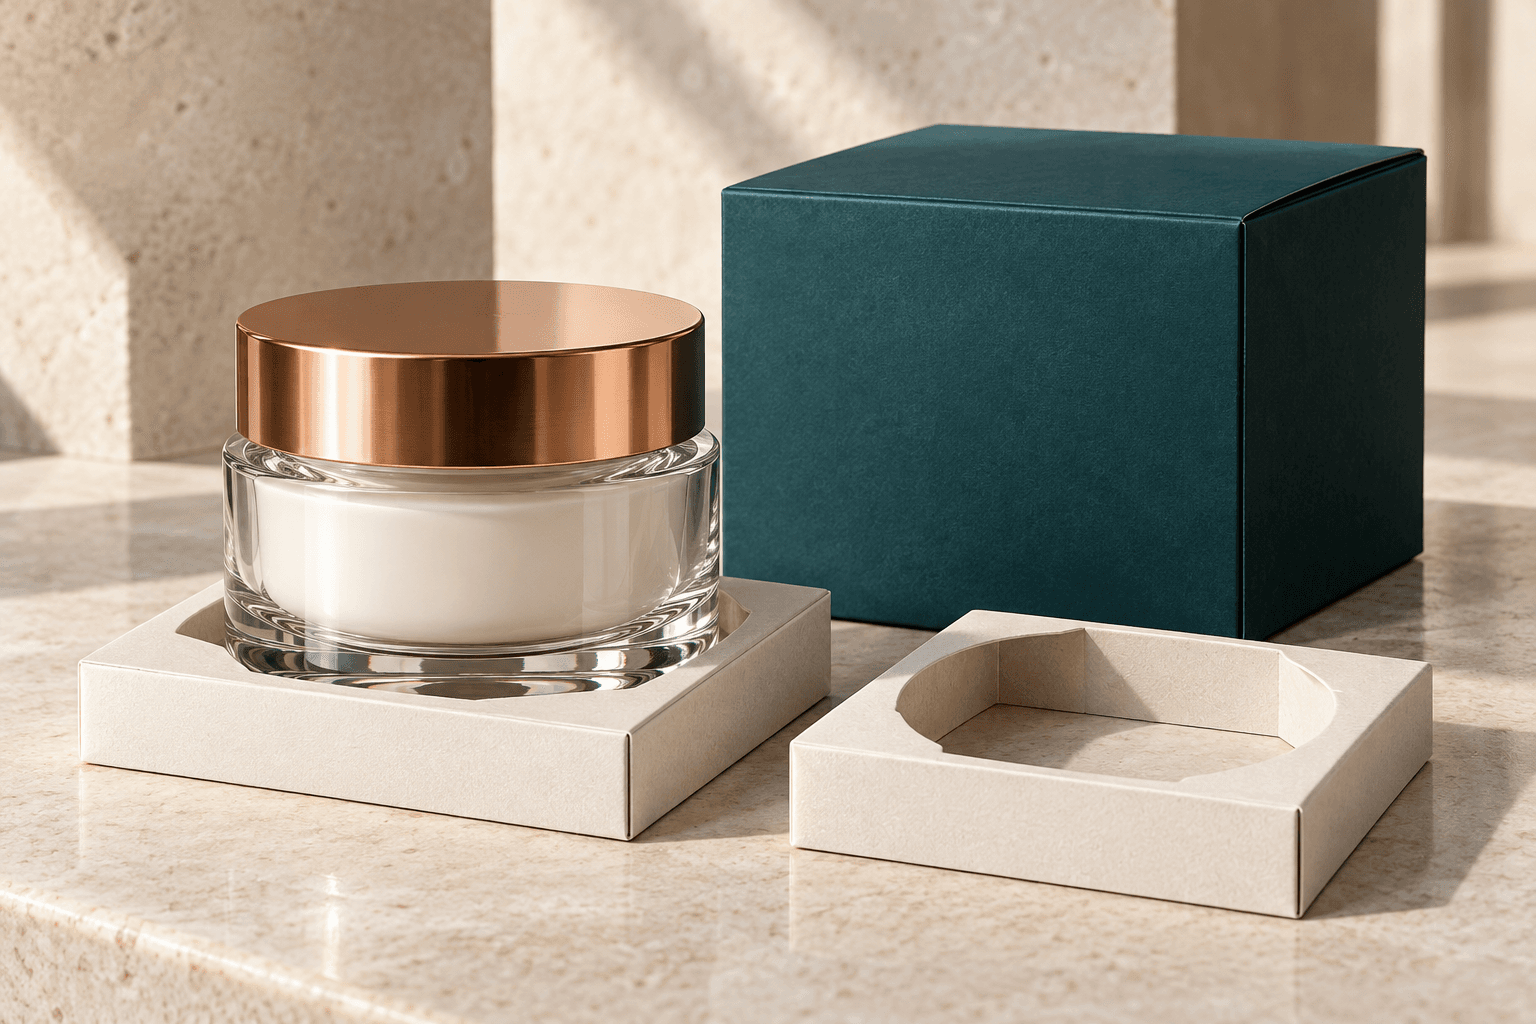

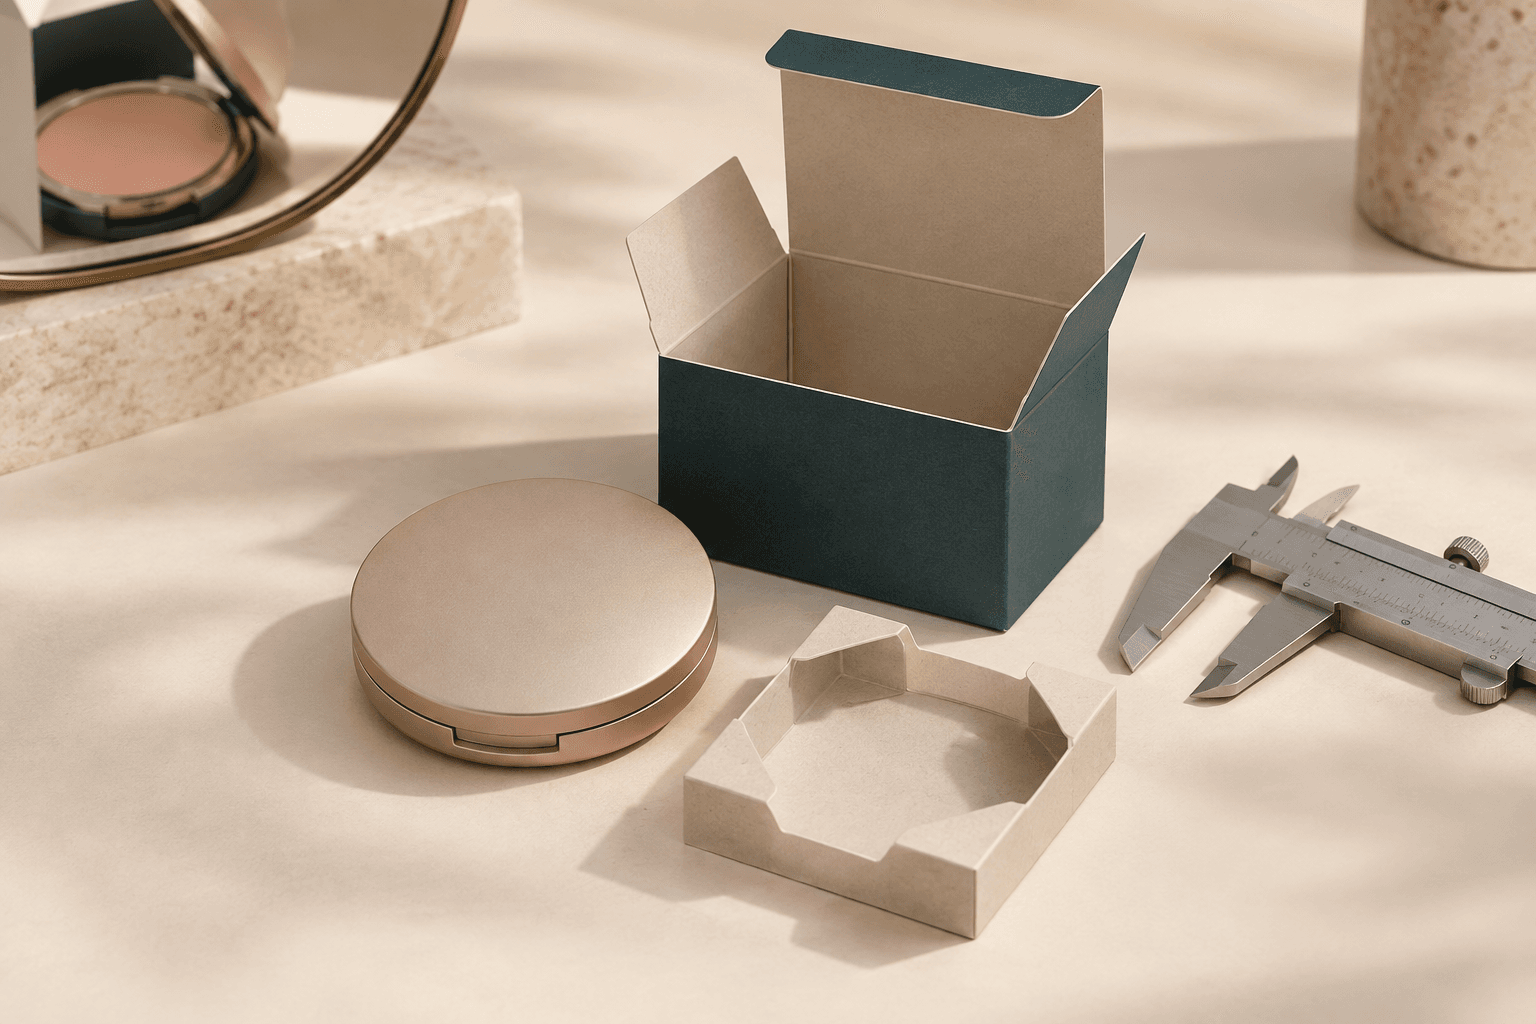
A blush compact carton should be sized from the compact’s complete closed profile, not its pan diameter or nominal fill weight. Measure the maximum width, depth and height, including domed lids, clasps, hinges, feet and decorative projections. Then prototype only the clearance needed for packing, board behavior and removal. An oversized carton can let the compact move, weaken presentation and consume unnecessary space; an excessively tight carton can scuff decoration, load the hinge or make the product difficult to extract.
This blush compact packaging guide explains how to establish a compact envelope, identify sensitive contact zones and compare a direct-fit folding carton with localized paperboard support. It does not prescribe a universal clearance. The correct fit depends on the actual compact, board, carton style, packing method and distribution configuration.
Measure the compact as a closed three-dimensional object
Use a representative production-intent compact with its final surface treatment. Close it normally and record the greatest dimension on each axis. Do not assume that a round compact has one diameter everywhere: a thumb tab, clasp, hinge barrel or offset base may create the true maximum. For a square or rectangular compact, check corner radii and any taper from lid to base.
Measure more than one unit where possible and record the instrument and orientation used. A useful drawing marks which feature established each maximum. That is more reliable than a three-number note whose measurement points cannot later be reconstructed.
| Feature | What to record | Why it matters to the carton |
|---|---|---|
| Closed body | Maximum width, depth and height | Defines the minimum product envelope for early structure work |
| Hinge | Projection, position and opening side | Prevents the carton or support from loading a moving joint |
| Clasp or thumb tab | Projection and access direction | Can become the widest point and should remain usable |
| Decorated surfaces | High-gloss, metallized, printed or soft-touch contact areas | Helps identify where rubbing should be checked |
| Base details | Feet, recesses, labels and uneven surfaces | Affects how the compact sits and where support can contact it |
Do not size from the powder pan
The pan or well describes the cosmetic product area, not the exterior package. Primary compact designs with similar pan capacities can have very different outer profiles. HCP’s official compact catalogue, for example, includes slim single-level formats as well as a double-tier Festival Wet & Dry compact with a domed profile, push-button opening and separate sponge storage. This is useful evidence that the full component—not the fill description—must control the secondary carton. It does not imply that PearlFold supplies that particular component.
Ask for the exact compact specification or physical sample tied to the intended order. If a supplier changes the hinge, applicator compartment or closure, treat the revised unit as a new fit input even when the powder pan remains unchanged.
Add clearance by purpose, not habit
Begin with the measured envelope and build a blank structural sample. Clearance may be needed for board caliper, fold recovery, production variation, assembly and surface protection, but it should have an explicit reason. Avoid applying a remembered allowance from another project without checking its product and material conditions.
Inspect all six directions. A compact may be stable laterally yet have excessive headspace; another may fit its length and width but bind at a domed lid. Record movement and contact separately. If the product rattles, identify the direction and the feature that permits it before enlarging or tightening the whole carton.
Compact dimensions published by primary-packaging makers also show why assumptions are risky. HCP lists one slim kit at 65 by 54 by 12 millimetres and another round double-tier compact at 73 millimetres in diameter and 29.4 millimetres high. Those examples demonstrate variation, not a standard size for blush packaging.
Keep the hinge and clasp out of the load path
A snug fit should not mean that the carton squeezes the hinge barrel or holds the clasp under pressure. Mark these as sensitive zones on the structure drawing. Where localized support is used, place contact on suitable body surfaces and confirm the compact remains fully closed without distortion.
Consider the packing direction. Sliding a compact past a fold edge can create different contact from lowering it into an open-end carton. Watch the complete loading sequence, not just the final position. If operators must force a decorated face past a narrow opening, the nominal finished dimensions do not describe the practical fit.
Compare direct fit with localized support
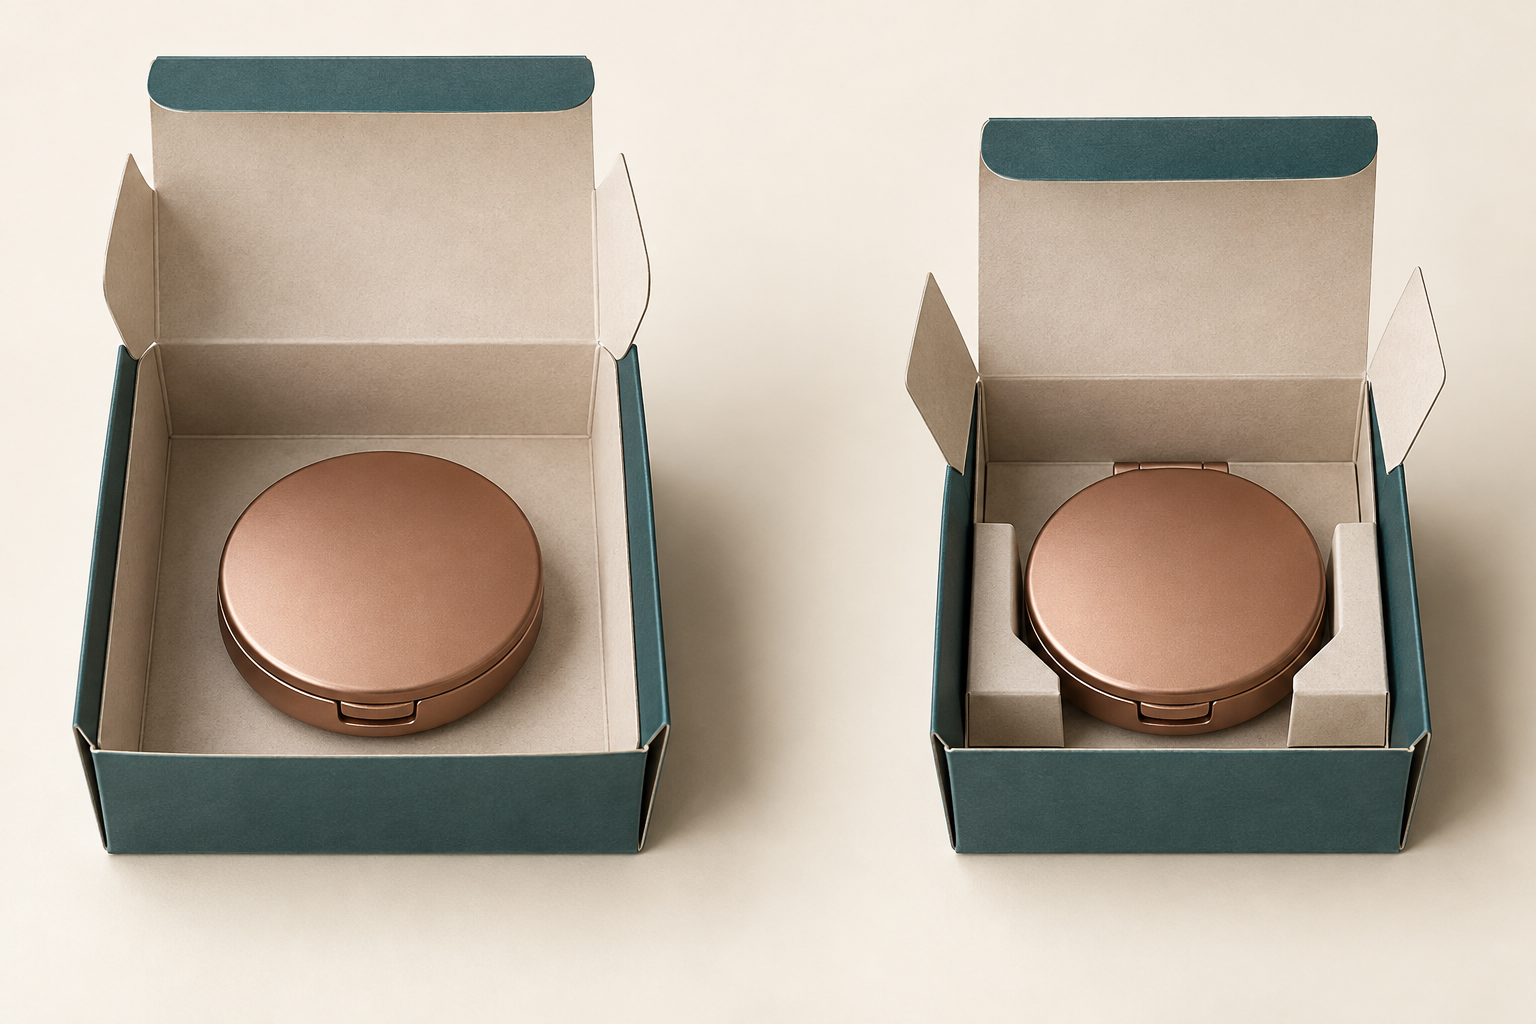
A straightforward tuck-end folding carton can be an efficient candidate when the compact has a stable profile and the carton can control it adequately. Localized folded paperboard support may be worth comparing when a tapered, domed or asymmetric compact moves despite a sensible exterior size, or when presentation requires a defined orientation.
An insert should solve a named issue. It should not simply fill every void. Compare at least two samples under the same conditions: one with the simplest credible direct fit and one with the proposed support. Record movement, surface contact, loading time, removal effort and presentation. A smaller exterior with a complicated insert is not automatically better if it creates difficult assembly or traps the product.
Make removal part of the dimensional review
Give the sample to someone who did not design it. Can they identify the opening side and remove the compact without pulling the tuck flap awkwardly or scraping a fingernail along a sharp fold? If the compact sits deep inside the carton, a thumb recess, pull feature or different orientation may be more useful than general extra space.
Observe where the reviewer grips the product. Do not force them to pull on a clasp, hinge or decorative emblem because no body surface is accessible. The smallest technically closable carton is not necessarily the best usable carton.
Review artwork at the final structural size
Reducing excess volume changes panel proportions and available copy space. Reflow the artwork on the approved dieline rather than scaling an earlier layout blindly. Check legal copy, shade identification, barcode quiet areas and opening cues at printed size.
If several compact sizes share a visual system, do not make all cartons physically identical merely for graphic consistency. A controlled family can use shared typography, color and panel logic while preserving a product-specific structure. That avoids oversizing the smaller item only to match its larger relative.
Approve the whole packed system
A tabletop fit check answers usability and geometry questions; it does not prove shipping protection. Define acceptable product and package condition, then select evaluation appropriate to the actual distribution environment. ISTA advises evaluating the full packaged-product system, documenting results and using representative variants rather than assuming one configuration covers all others.
Retain the approved compact revision, carton drawing, board specification, packing orientation, photos and review observations. If the compact, support, material or distribution configuration changes, assess whether the evidence still applies.
Include a simple tolerance note in the approval record as well: identify which product and packaging variations were actually represented, and which were not. This prevents an early prototype from being treated as universal approval for later compact revisions.
For a commercial structure discussion, review custom blush box options and provide the closed compact, maximum dimensions and sensitive contact zones in a custom quote request. That gives the structural team a clear starting point without treating an arbitrary carton size as approved.
Blush compact packaging questions
How should a blush compact be measured for a carton?
Measure the complete compact closed, recording maximum width, depth and height across hinges, clasps, domes and feet. Note the orientation and feature that establishes each maximum.
How much clearance should a compact carton have?
There is no universal number. Prototype clearance for the actual board, fold behavior, packing method, product variation and removal, then document the accepted fit.
Does a blush compact always need an insert?
No. Compare a credible direct-fit carton first. Add localized support only when it resolves an observed positioning, contact or presentation requirement.
Can the hinge touch the carton?
Incidental proximity is different from relying on the hinge as a load-bearing surface. Mark it as a sensitive zone and confirm the sample does not press, bind or rub there.
Should a round compact use a square carton?
It can, but structure choice should follow packing, stability, presentation, manufacturing and distribution needs. A square exterior alone does not determine whether support is needed.
Can different blush shades share one carton?
They can when the finished compact geometry and approved packaging specification are the same. Keep shade identification and artwork revision controls accurate for every SKU.
Should the powder pan diameter be provided?
It may be useful product information, but it cannot replace the compact’s external closed dimensions. The outer component controls carton fit.
How can rubbing on a decorated compact be checked?
Use final-intent decoration in the sample, observe packing and removal, and inspect identified contact zones after the agreed handling or test sequence.
Is the smallest possible carton always preferable?
No. It must still pack, close, present and open acceptably. Optimize avoidable space without sacrificing function or relying on damaging contact.
What should be recorded at approval?
Keep the product revision, measured envelope, carton and support specifications, orientation, photos, usability observations and any applicable package-test documentation.